1. Feed the Sourdough (the night before, follow my starter schedule) - top view
2. Side view, note the rubberband
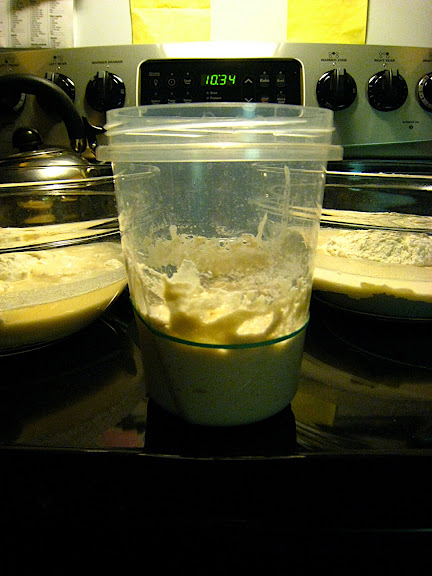
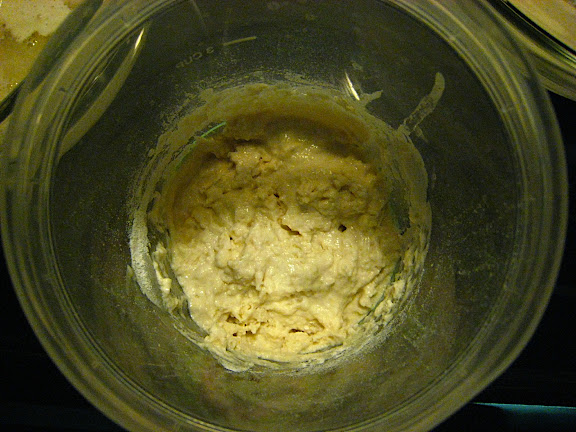
3. The next day

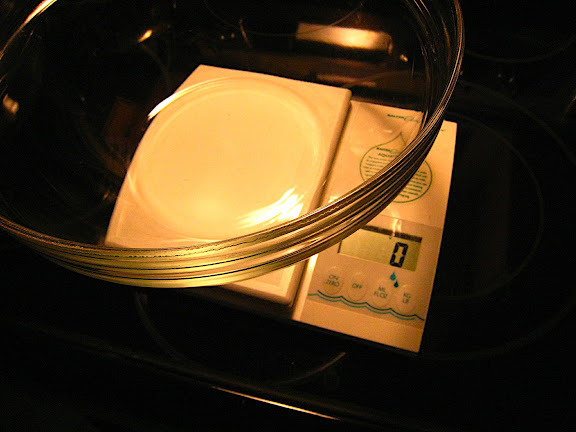
4. Mixing the dough, first zero the scale (on grams)
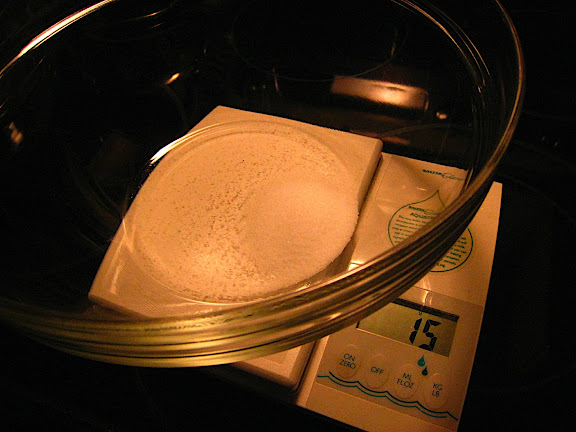
5. Start with 15g Salt then zero the scale again
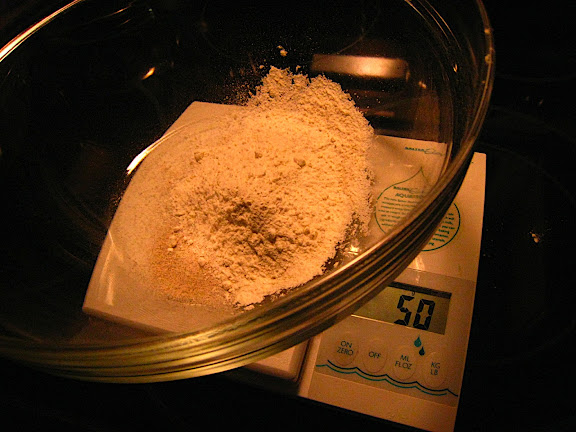
6. Add 50g of White Whole Wheat flour
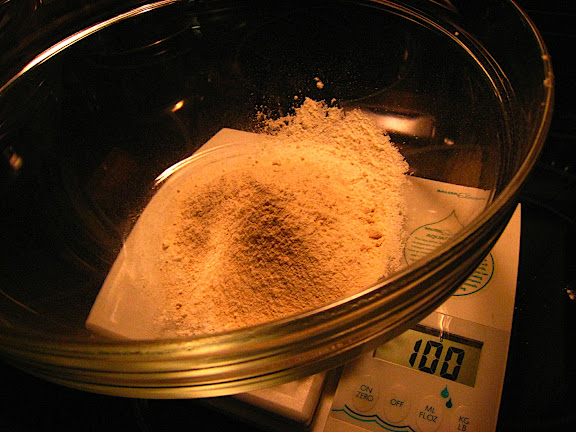
7. Add another 50g of All-Purpose flour
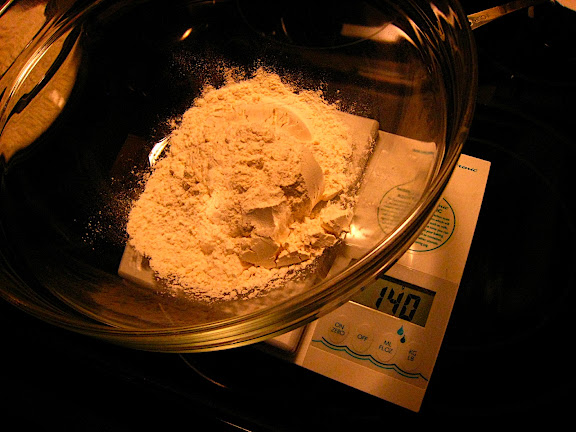
8. Throw in the 10g of Buckwheet and start adding regular Bread flour
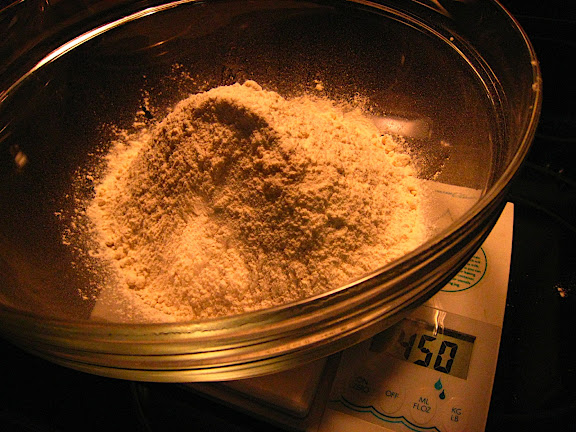
9. Add slowly until the total FLOUR amount is 450g
10. Zero the scale once again
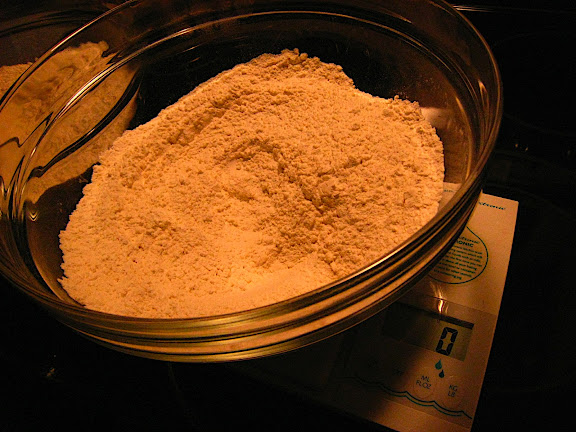
11. Add 325-350g water (carefully and slowly, you want to keep the dough a bit dry)
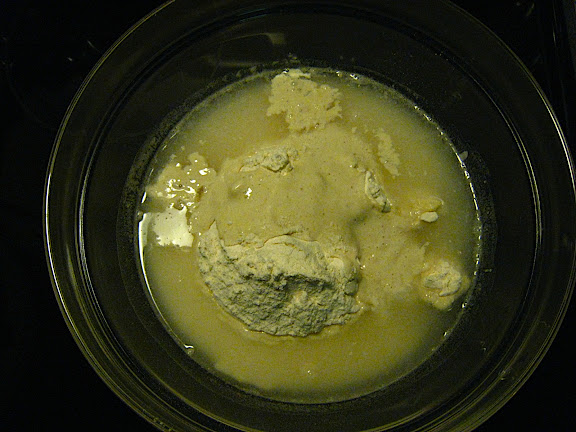
12. Start to mix the dough, I
 use a wooden baton
13. It will come together
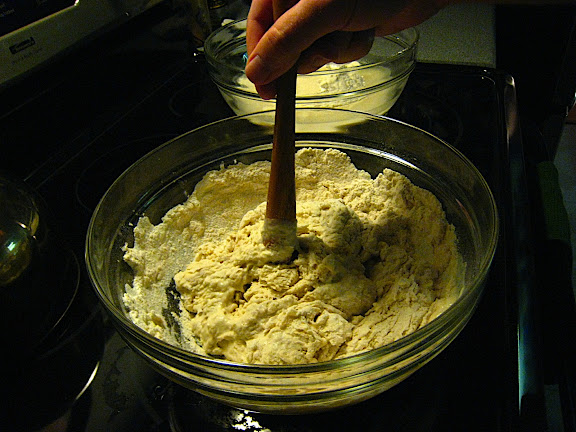
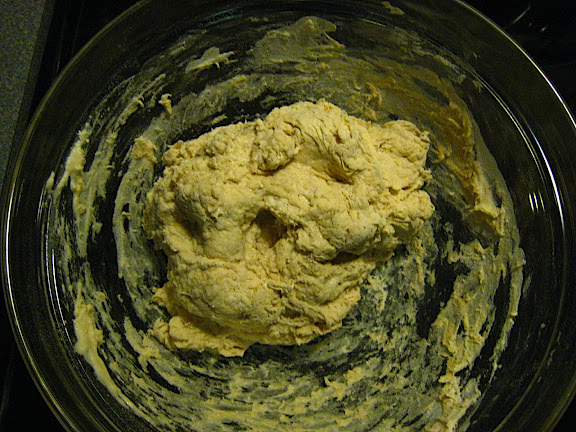
14. And eventually start to look like this
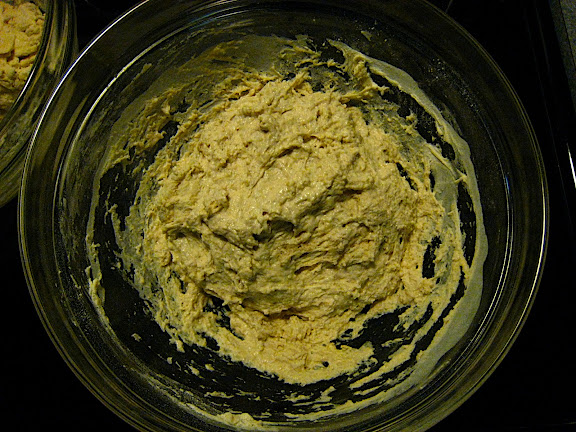
15. Though the consistency you are looking for is closer to this (dry)
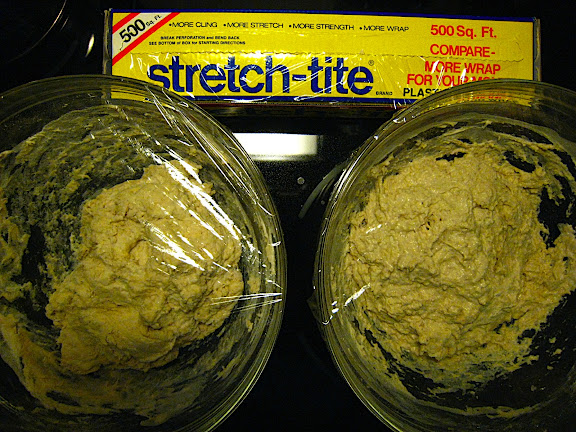
16. Cover (I do two batches at once) and let mix & rise overnight (8-11 hours)
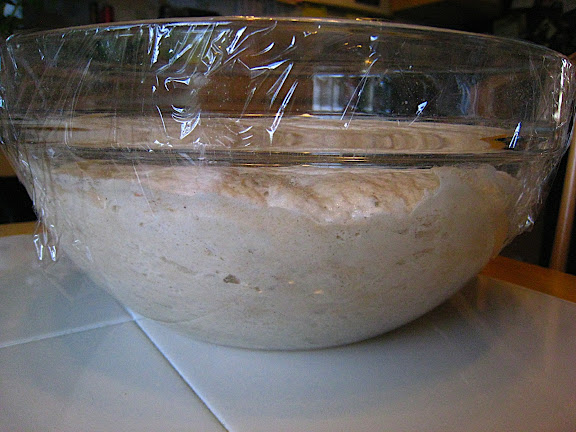
17. This is what you will wake up to (top view)

18. Side view
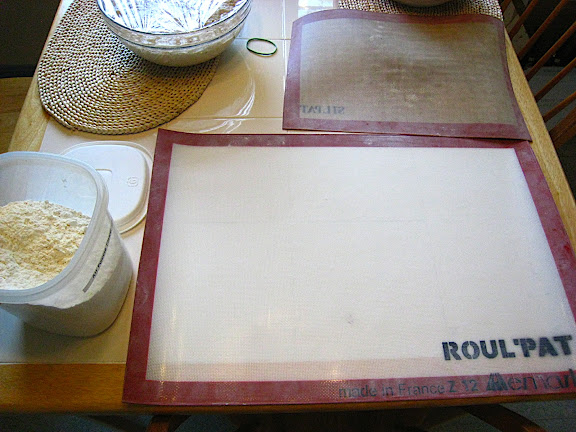
19. I get my workspace set-up with plenty of flour for dusting
20.
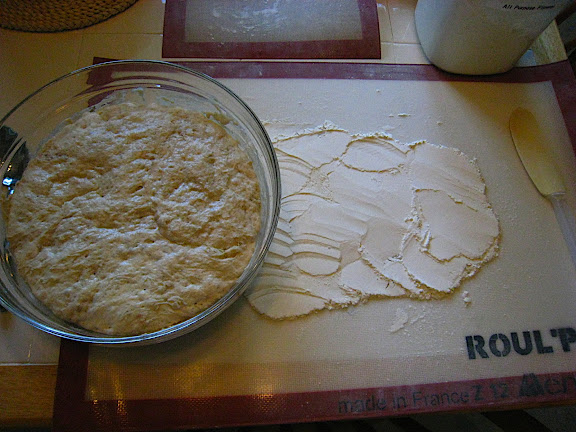 Spread out a layer of flour
21. Scoop out the dough onto the flour
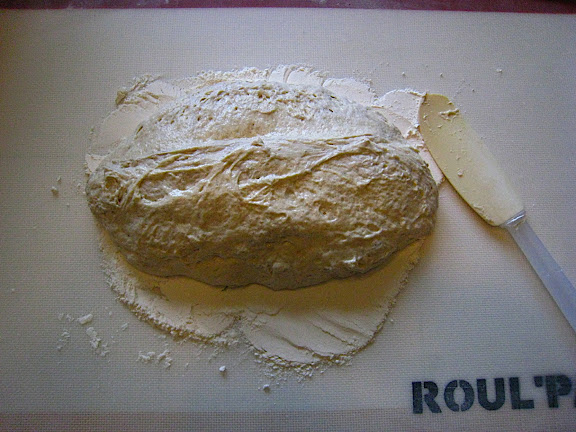
22. Fold over the dough
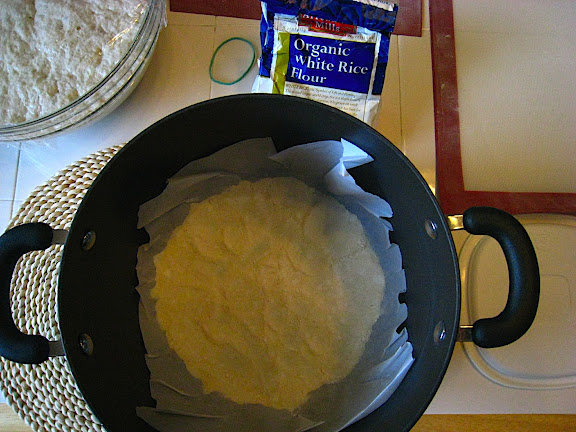
23. Fold over again, covering with flour

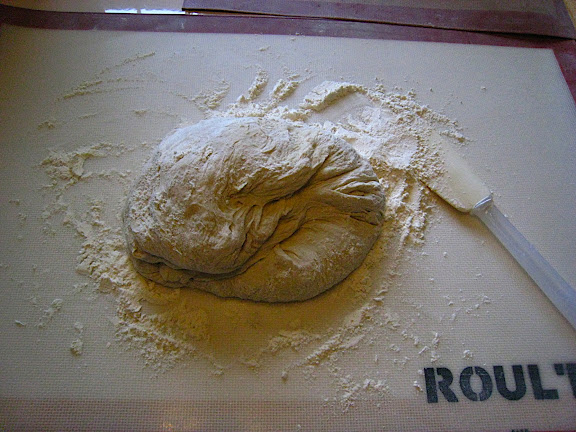
24. Prepare a pot (or bowl) with parchment paper and Rice Flour (more on that in another blog post)
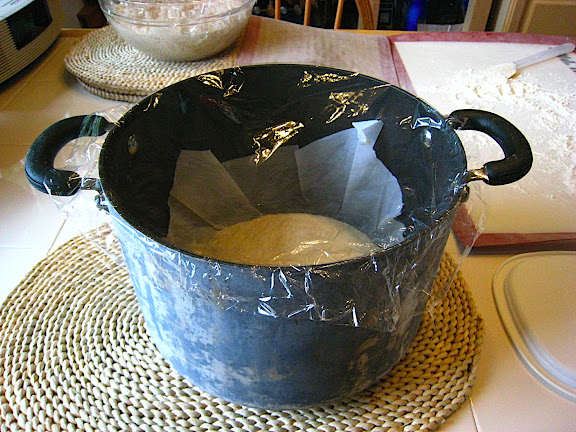
25. Place the dough (formed into a semi-tight ball) in the pot
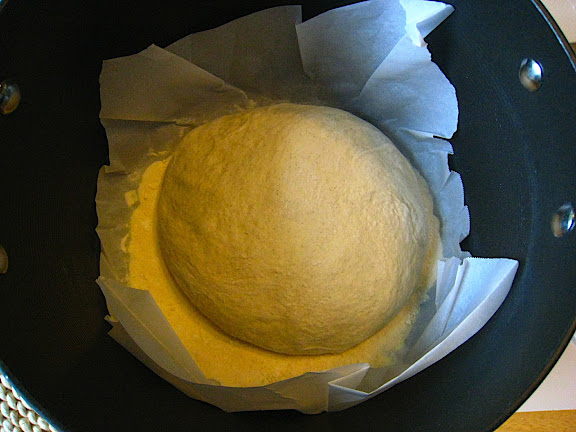
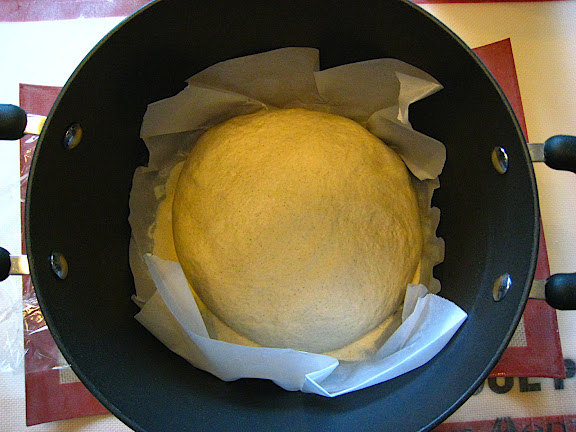
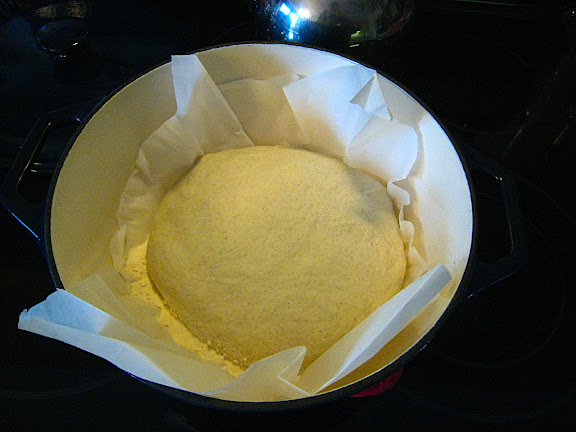
26. Cover with saran wrap again and allow to rest for 45-95 minutes
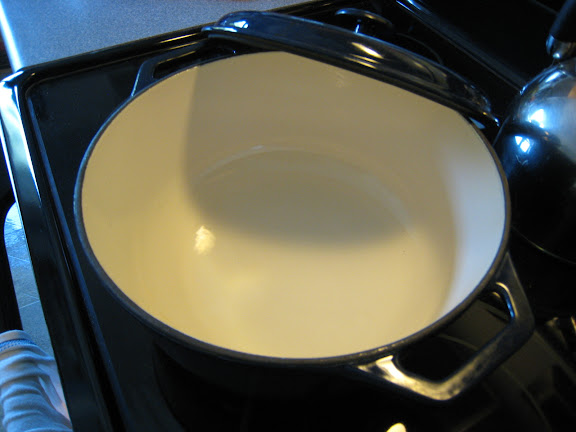
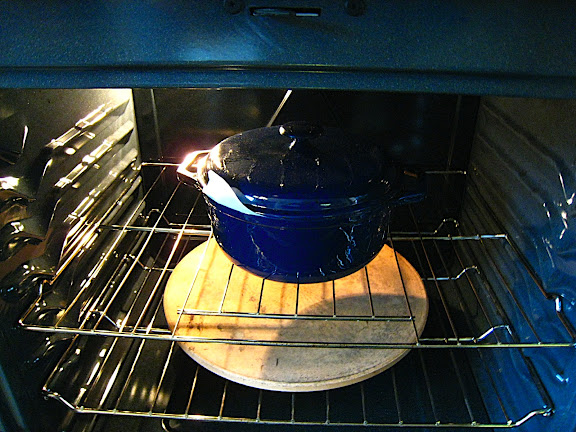
27. The dough will have "proofed" and will look like this
28. Take the pre-heated (45 minutes) dutch-oven out of the 450 degree oven
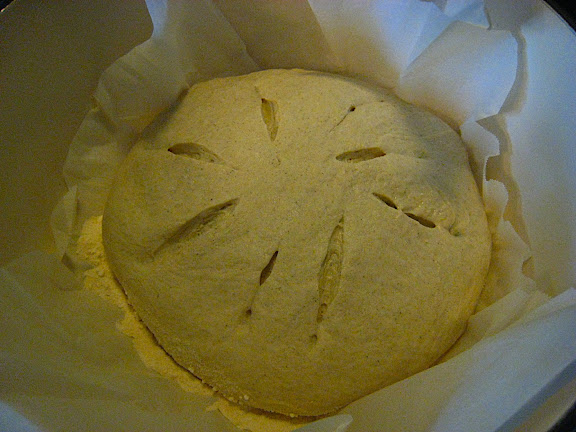
29. Using the four corners of the parchment paper, transfer the dough from the proofing pot/bowl to the dutch oven (be careful NOT to touch the sides!)
30. Slash the top of the loaf with a razor-blade
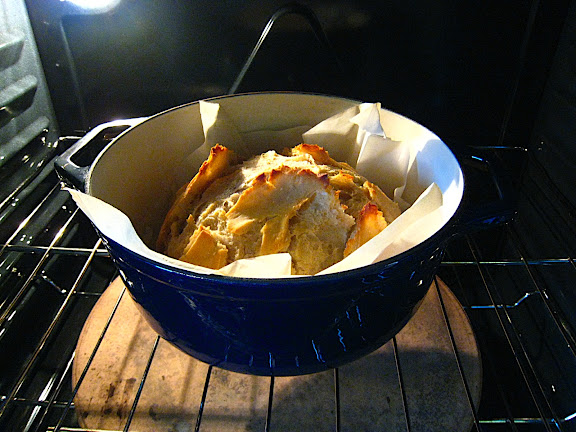
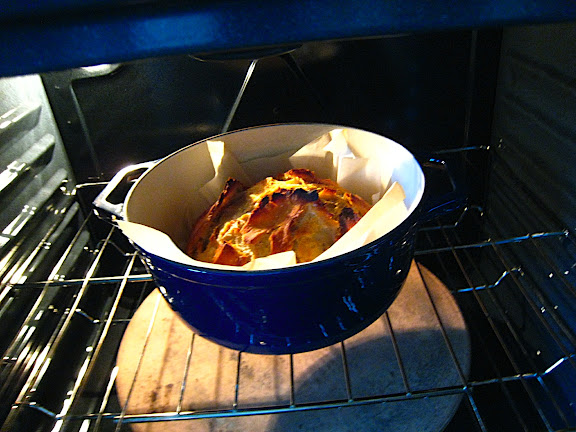
31. Put the dutch-oven lid on and slide into the 450 degree oven for 26-27 minutes
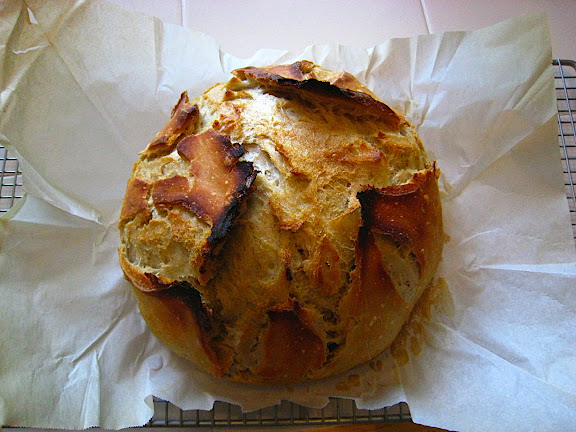
32. After 26-27 (or 30 depending on your oven) minuets, open the oven and take the lid off, close the oven door for another 13-15 minutes
33. Finished product (after approx 45-55 minuets baking @450 degrees)
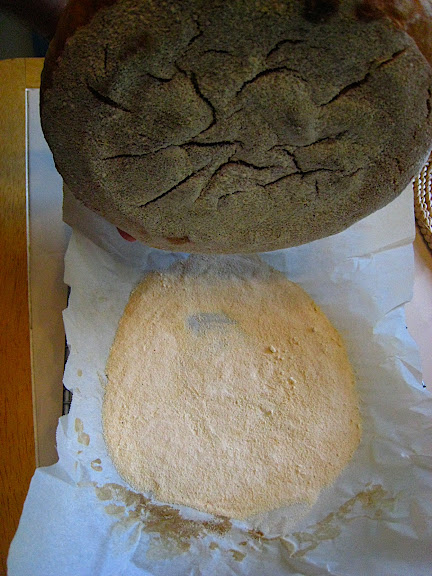
34. Carefully remove the dutch-oven from the oven and the bread from the dutch oven (again use the corners of the parchment, but be careful of the sides) and transfer to a wire cooling rack
35. Allow to cool for at least 60 minutes and then dust the rice flour off the bottom of the loaf
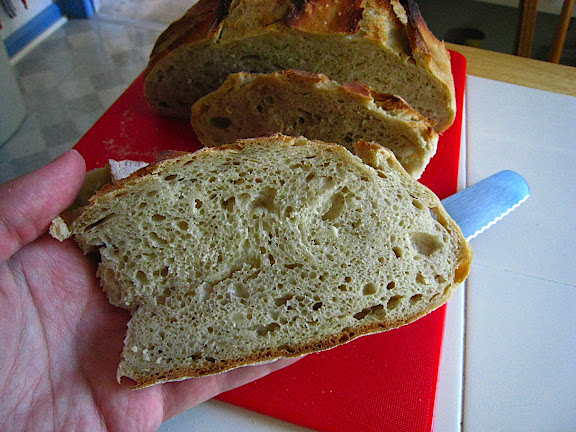
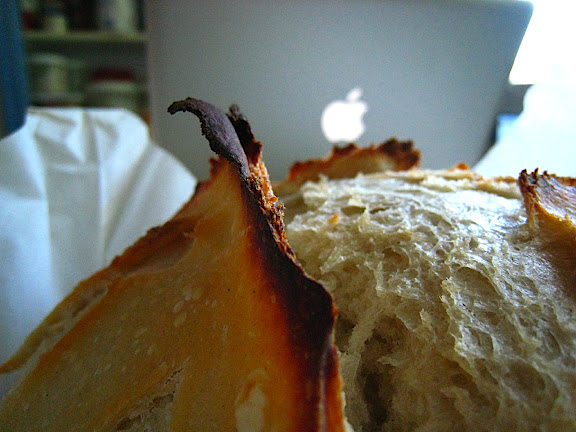
36. Slice with your favorite bread knife and enjoy!
37. bon appetit !
-Matt the weekend Baker


2 comments:
hi! Great how to. The images help a lot. I am just wondering at what point you add the starter? I am assuming its right before you mix the flours and the water?
Thank you!
So clearly Blogger.com didn't notify me of your comment otherwise I would have responded almost two years ago...
I usually add the starter to the water while I prepare the flower mixture, so it sits for about 5 minutes before I mix everything together.
Post a Comment