Saturday, August 30, 2008

Bread Flour vs All-Purpose Flour

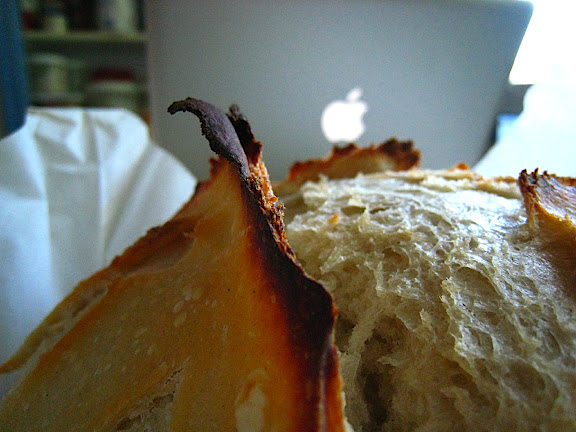
So the unthinkable happened last night, I ran out of bread four. Normally I keep a fairly good supply on-hand but for some reason I forgot to buy more the last time I was at the grocery store.

This left me with a decision - should I:
a) Run out to the store (it was late at night so this wasn't a great option)
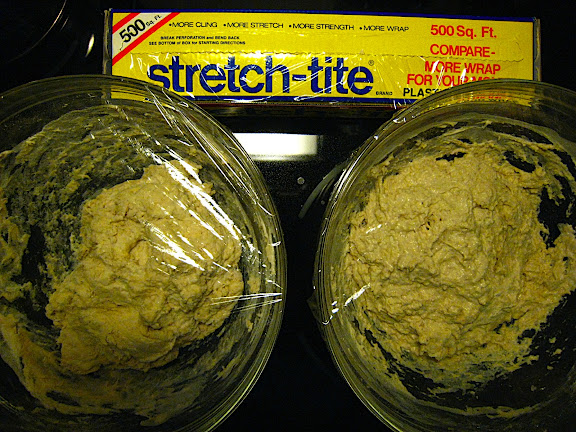
b) Use All-Purpose (AP) flour


Protein
5-8% cake flour
8-10% pastry flour
10-11.5% all-purpose flour
11-13% bread flour
14% and up high-gluten flour

I chose option B because not making bread would be even worse than going grocery shopping late at night.

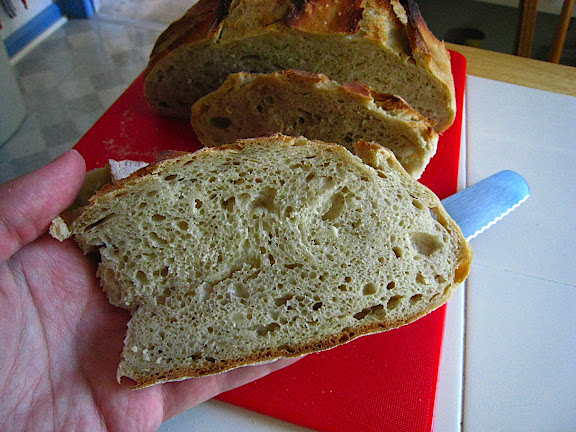
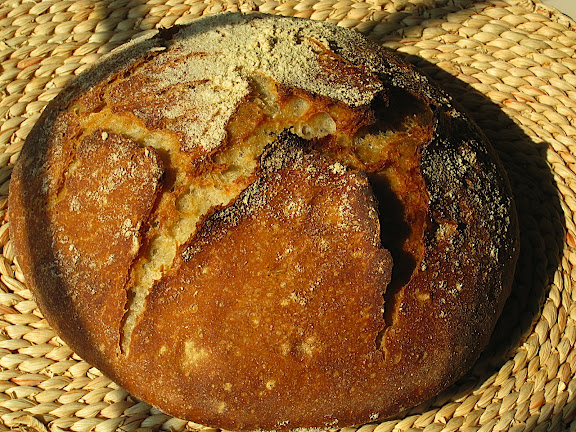
So what is the difference between the two most common types of flour? It's different gluten/protein concentrations. AP is in the 10% range and Bread is in the 12% range, why do you want to have more gluten/protein? Crumb structure. The more gluten you have the longer the gluten bonds you can sustain.

Think about the difference between cake (5%) and a nice french bread (12%) and that's a good way to remember why bread bakers want higher percentages.

A great wiki reference on Flour: http://en.wikipedia.org/wiki/Flour

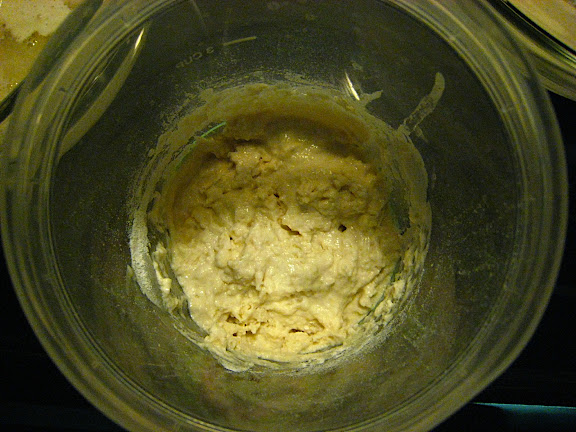
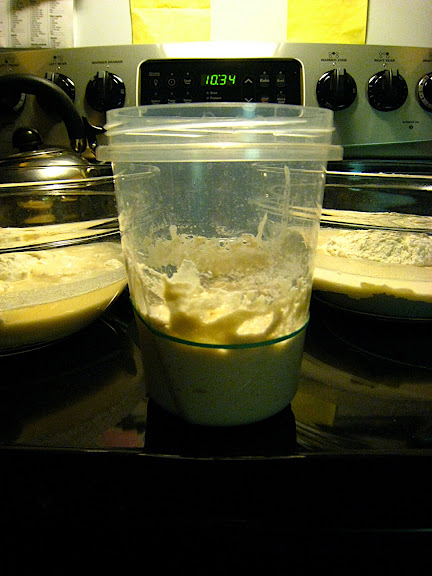
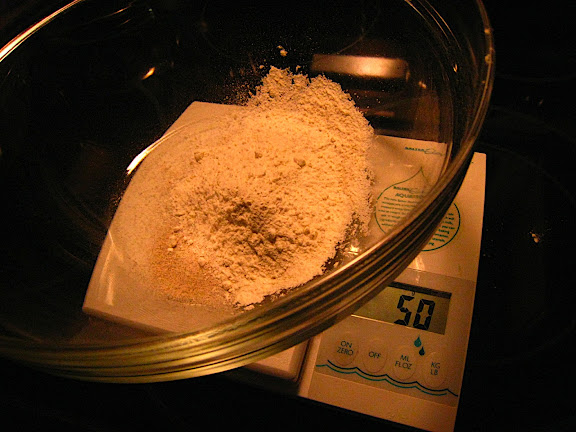
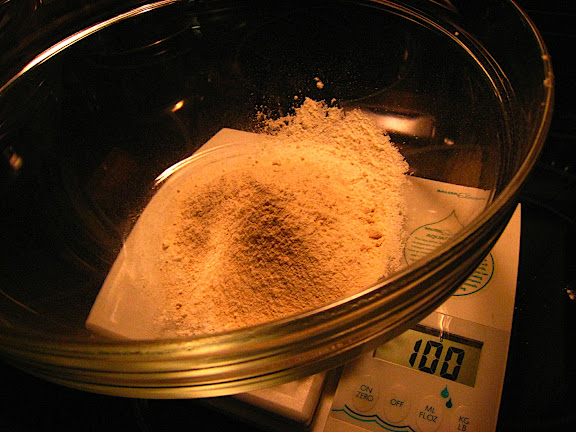
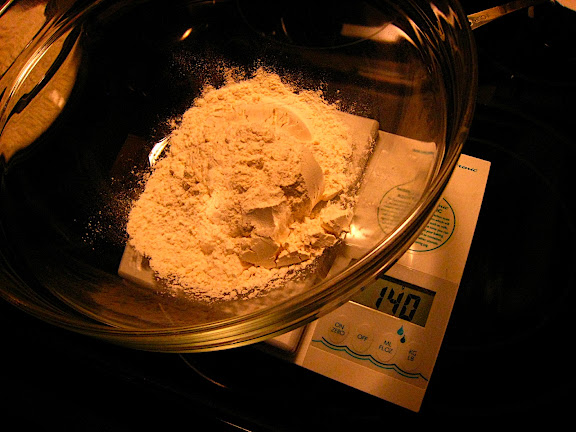
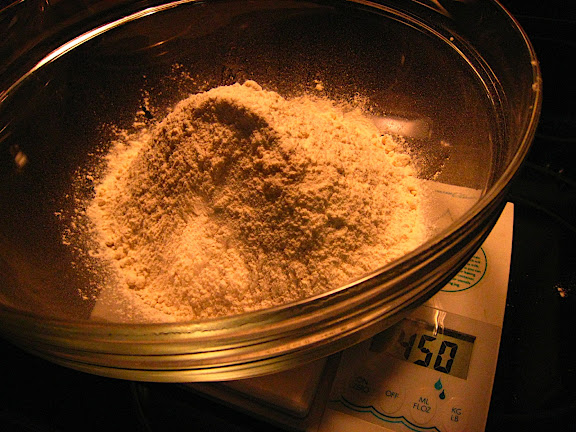
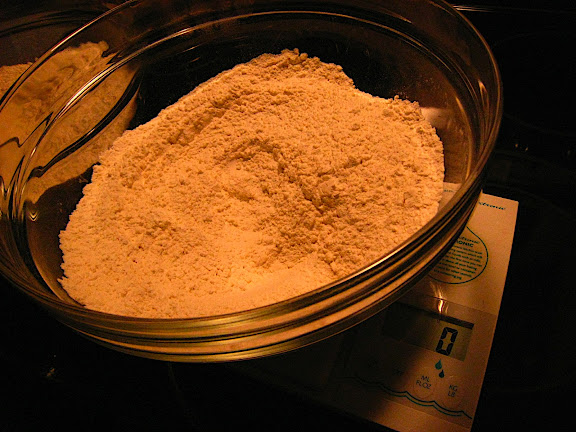
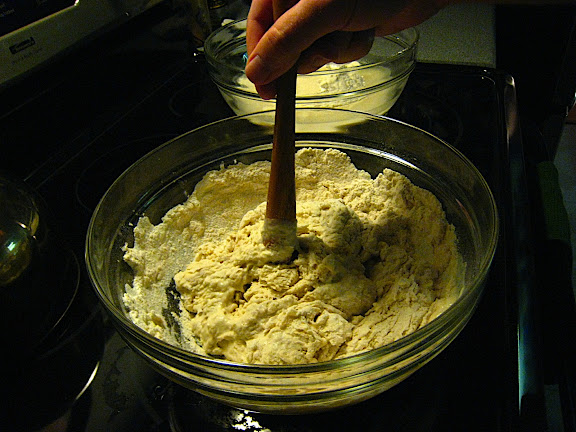
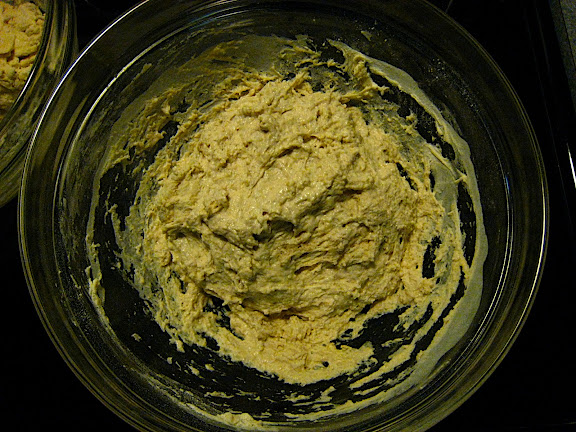
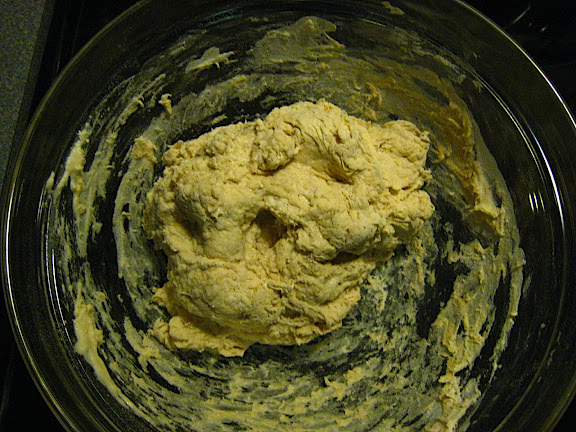
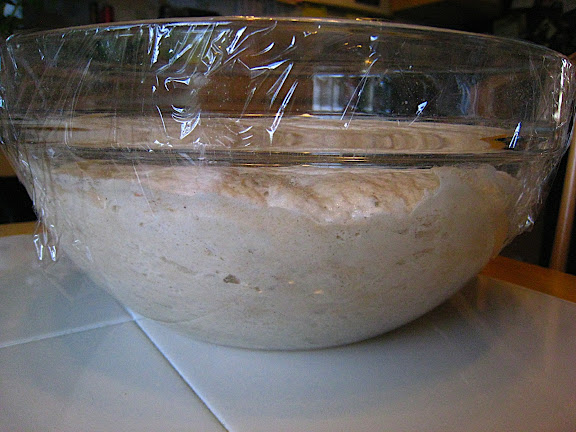
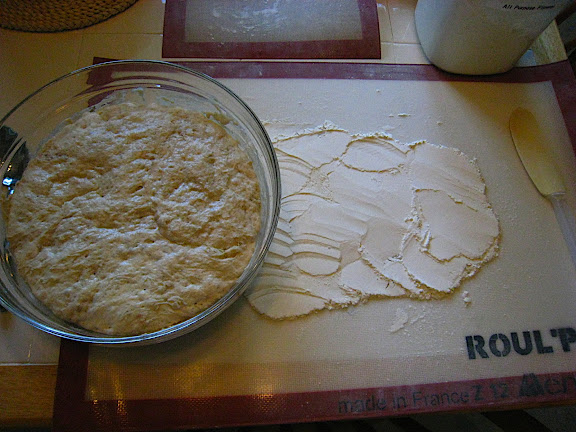
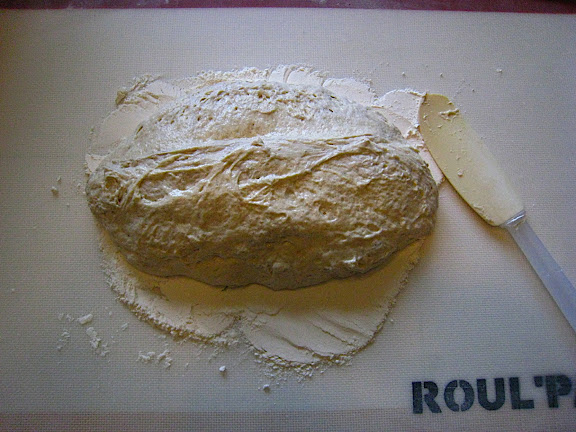
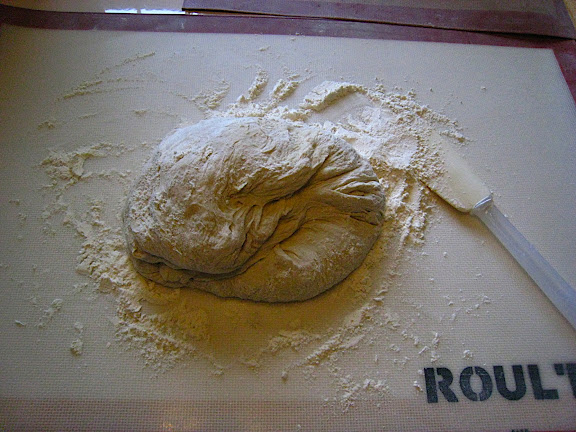
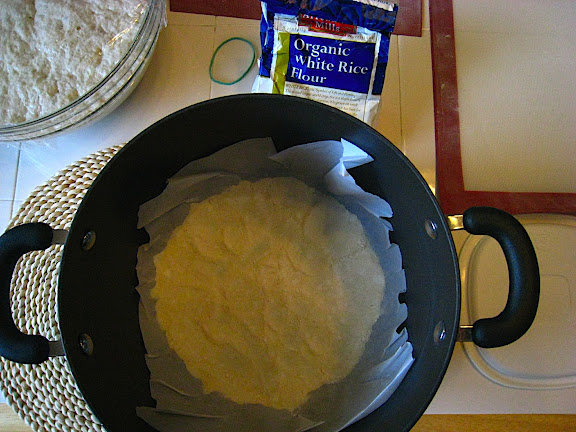
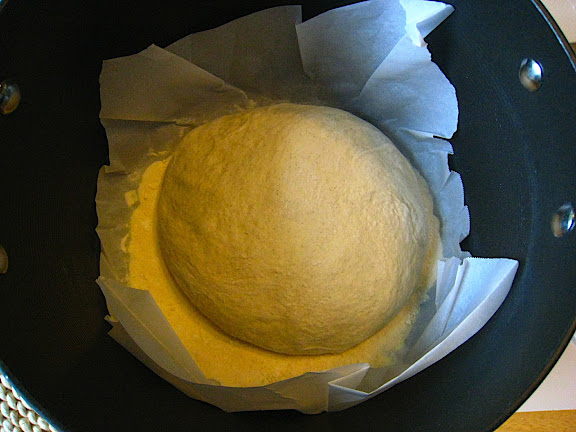
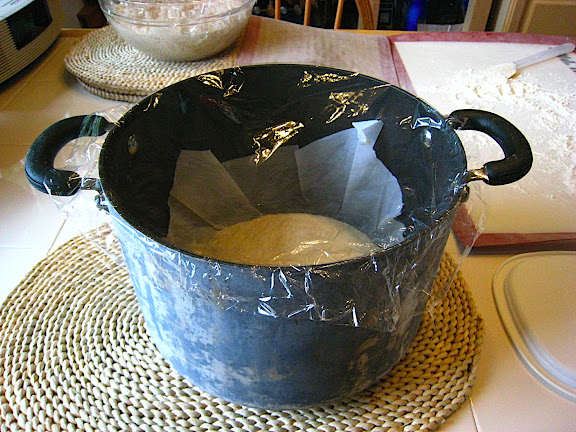
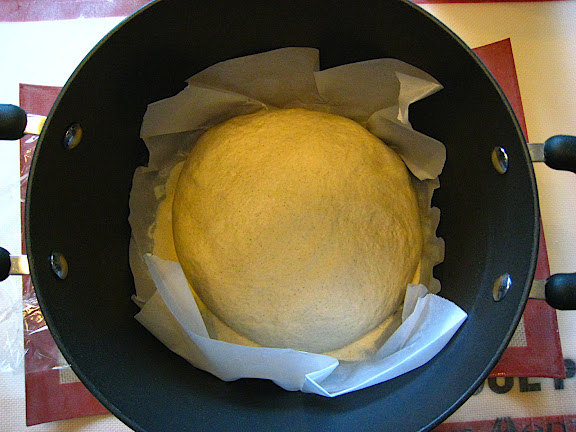
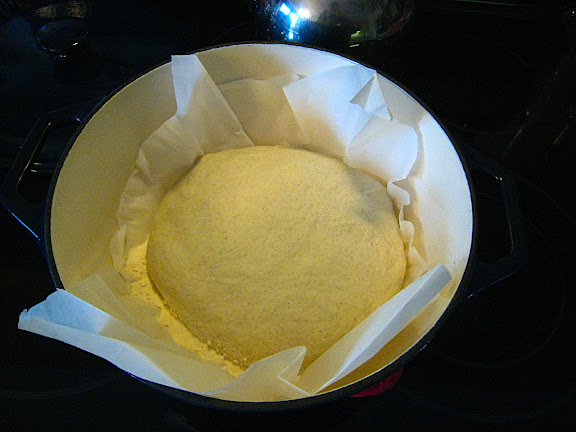
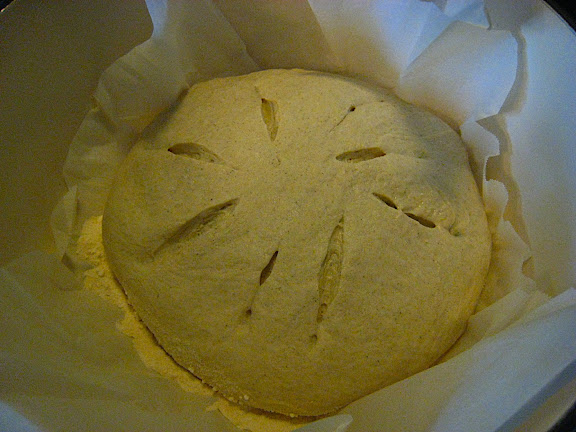
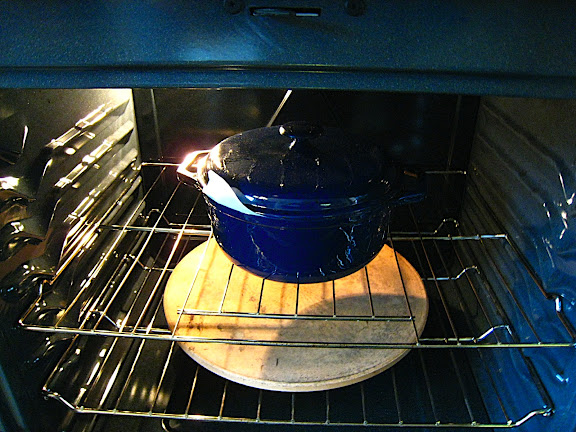
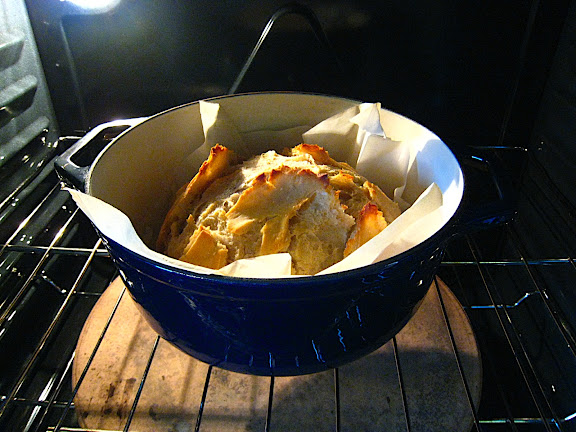
If you want to get started with bread baking and all you have is AP flour, give this recipe a try:
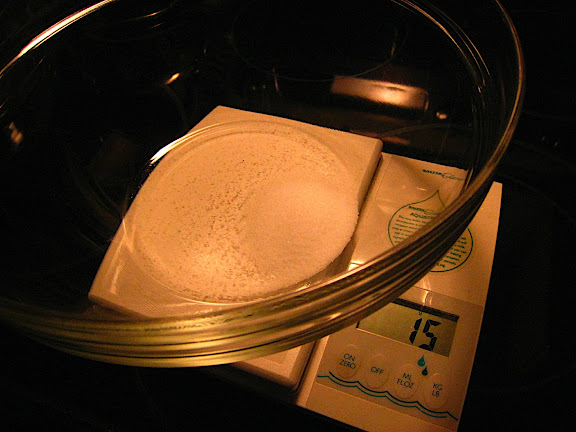
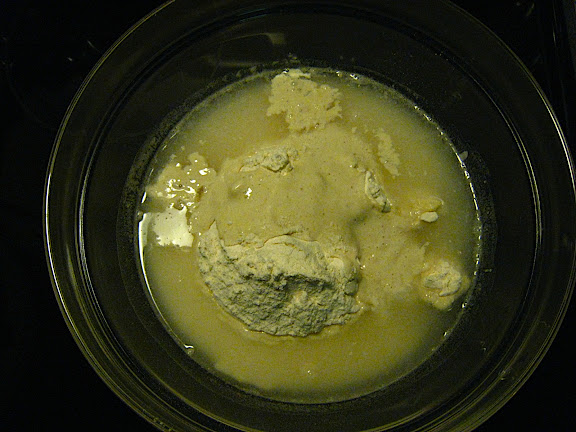
  • 15g Salt
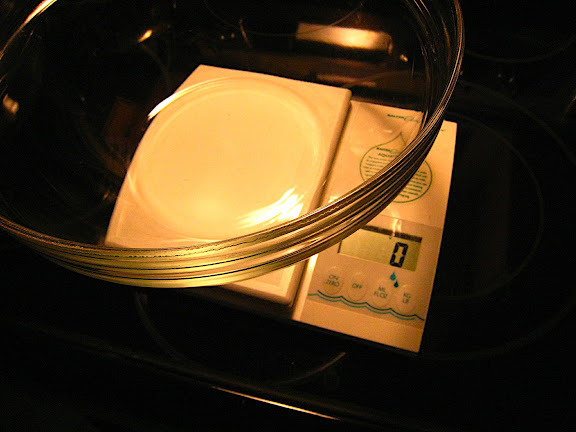
  • 350g Flour (any type)
  • 350g Water
  • 10g Yeast
It's easier than you think! (trust me)

-Matt the Weekend Baker


Saturday, August 23, 2008

A visual step-by-step guide to Sourdough bread

I am a visual learner. I love step-by-step guides with pictures so I thought I would put together one of my own. This is a long post, but I think it will be educational.

1. Feed the Sourdough (the night before, follow my starter schedule) - top view


2. Side view, note the rubberband


3. The next day


4. Mixing the dough, first zero the scale (on grams)


5. Start with 15g Salt then zero the scale again


6. Add 50g of White Whole Wheat flour


7. Add another 50g of All-Purpose flour


8. Throw in the 10g of Buckwheet and start adding regular Bread flour


9. Add slowly until the total FLOUR amount is 450g


10. Zero the scale once again


11. Add 325-350g water (carefully and slowly, you want to keep the dough a bit dry)


12. Start to mix the dough, I use a wooden baton


13. It will come together


14. And eventually start to look like this


15. Though the consistency you are looking for is closer to this (dry)


16. Cover (I do two batches at once) and let mix & rise overnight (8-11 hours)


17. This is what you will wake up to (top view)


18. Side view


19. I get my workspace set-up with plenty of flour for dusting


20. Spread out a layer of flour


21. Scoop out the dough onto the flour


22. Fold over the dough


23. Fold over again, covering with flour


24. Prepare a pot (or bowl) with parchment paper and Rice Flour (more on that in another blog post)


25. Place the dough (formed into a semi-tight ball) in the pot


26. Cover with saran wrap again and allow to rest for 45-95 minutes


27. The dough will have "proofed" and will look like this


28. Take the pre-heated (45 minutes) dutch-oven out of the 450 degree oven


29. Using the four corners of the parchment paper, transfer the dough from the proofing pot/bowl to the dutch oven (be careful NOT to touch the sides!)


30. Slash the top of the loaf with a razor-blade


31. Put the dutch-oven lid on and slide into the 450 degree oven for 26-27 minutes


32. After 26-27 (or 30 depending on your oven) minuets, open the oven and take the lid off, close the oven door for another 13-15 minutes


33. Finished product (after approx 45-55 minuets baking @450 degrees)


34. Carefully remove the dutch-oven from the oven and the bread from the dutch oven (again use the corners of the parchment, but be careful of the sides) and transfer to a wire cooling rack


35. Allow to cool for at least 60 minutes and then dust the rice flour off the bottom of the loaf


36. Slice with your favorite bread knife and enjoy!


37. bon appetit !


-Matt the weekend Baker

Saturday, August 16, 2008

Sourdough Starter Rising


Just a bit of fun today. This is what Sourdough Starter looks like while it's rising. There are many factors that go into cultivating a good sourdough starter, time, temperature, food, water...

As Mike Avery shows on his http://www.sourdoughhome.com/ blog:
Time & Temperature are interdependent.


When I made the time-lapse video above my kitchen was approximately 75 degrees Fahrenheit (next time I'll display a thermometer). You can tell about 4.5 hours in (about 10am) the doubling had completed (the green rubber band is where it started).

I have such a long rise time (12-13 hours) because I can't come home from work in the middle of the day to refresh & feed the starter. So I compensate for the fast doubling time by increasing the ratio of flour & water to starter when feeding.

Most starter feed schedules call for doubling, I actually quadruple to keep the starter at it's fully doubled position for the 12-13 hours I use in my schedule. You can tell at the very end of the video that if I let it go for much longer (4 more hours) it would go 'flat' and eventually return to it's original level.

Go ahead, give it a try - it's not as hard as you think it is, my simple-to-follow instructions and schedule are in this post: http://matts-bread-log.blogspot.com/2008/08/weekly-sourdough-starter-schedule.html

-Matt the Weekend Baker

Friday, August 8, 2008

About My Blog

About 7 years ago some good friends of ours gave me a lump of rising bread dough in a Tupperware container and lent me a book about bread-baking by Beth Hensperger.

After my first experiment with baking bread in my kitchen I was enamored with the experience. Of course that first loaf was just the beginning. Someone else had made it, I just baked it. I wanted more so I opened the book and started on my journey to become a weekend baker.

After reading Beth's book (which unfortunately has gone out of print, but I believe it was:
Beth's Basic Bread Book) I decided to try my hand at the most traditional bread recipie - pain ordinaire (we know it as French Bread):
  • 1.5 packages (1.5 tablespoons) active dry yeast
  • 1 tablespoon sugar
  • 2 cups warm water (105-115 degrees Fahrenheit)
  • 1 tablespoon salt
  • 3 cups unbleached all-purprose flour
  • Cornmeal for dusting
  • Egg Glaze (see page 115)
I was confounded. Her book (an a few others I had checked out from the library) had told me that bread was 4 basic ingredients:
  • Flour
  • Water
  • Yeast
  • Salt
What was going on here? Why sugar? Egg Glaze? I was intrigued.

Of course the loaf came out a bit odd. I still did not know what to do or how to do it, but the tasted wonderful and I was committed to try again.

So after 365 weekends and 300+ loaves of bread I think I've hit my stride. I just hope I can share what I've learned here.

-Matt the Weekend Baker